

Recipe: Perfect Homemade Miso
Recipe: Perfect Homemade Miso Delicious, fresh and tasty.
Homemade Miso. Making your own homemade miso from scratch is fun and is not hard to make. It is totally worth the effort and time! Make your very own Japanese miso soup from scratch.
There are many regional styles and traditional ways to make miso and the Japanese are the masters of this ancient fermented food.
Homemade miso is a tasty all-purpose seasoning.
If you aren't quite sure what to do with miso paste (besides a making traditional miso soup) then here are a few ideas: Soups: Try a hearty miso soup or a Japanese noodle soup.
You can cook Homemade Miso using 4 ingredients and 14 steps. Here is how you achieve that.
Ingredients of Homemade Miso
-
It’s 150 grams of Soy beans.
-
You need 200 grams of Kome koji (Rice koji).
-
It’s 75 grams of Salt.
-
You need 2 medium of A storage bag (a zip-top bag or similar).
My simple step-by-step instructions on How to Make Miso will guide you through this process.
Once it is made, you can use the amazing fermented paste for many delicious Japanese dishes!
First, miso takes just an hour or two of active prep but needs at least six months to a year to ferment.
Next, miso doesn't require a lot of technical knowledge, but technique can make or break the finished product.
Homemade Miso step by step
-
Rinse the soy beans about 4 times, and soak overnight in plenty of water..
-
Drain off the soaking water, Put the soy beans in a pressure cooker, add enough water to cover, and cook under pressure for 20 minutes..
-
I used dried rice koji this time which needed to be soaked in water first, so I started preparing it at this stage, but if you are using fresh rice koji instead, just prepare the koji and salt when the beans are cooked..
-
When the pressure cooker has depressurized, check that the soy beans are tender enough that you can easily mash one between your thumb and forefinger..
-
Scoop the beans up with a ladle, drain off the liquid by tilting the ladle against the side of the pan, and put the beans in a plastic bag. Mash the beans up while they are still hot using a pestle or other equipment..
-
This is how the mashed beans look.This would be even easier to do if you have a food processor….
-
Mix the rice koji with the salt, rubbing them together well with your hands. Add the cooled mashed soy beans to this. Its easiest if you just cut open the bag the mash is in..
-
Mix well as if you were making hamburger mix. Press the mixture into a new clean plastic storage bag, making sure you dont leave any air pockets. Be especially sure to push it into the corners!.
-
Press out all the air in the bag before sealing it up. Write the date you made the miso on the bag and youre done!.
-
Now just let the miso mature for 6 months to a year before eating. Check on it occasionally for mold. If there is any mold, just throw out that part..
-
1 month later… no mold has grown. Its going well♪.
-
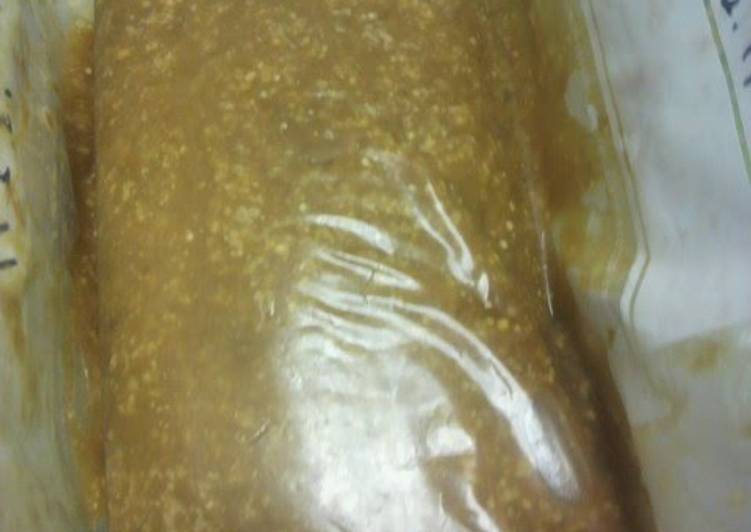
2 months later… looking good. Theres some tamari (miso liquid) and it's starting to have the color of miso..
-
After 5 months. Its become quite soft, and there's a lot tamari. It looks ready to eat already, but wait patiently for another month!.
-
Its now a proper miso! Homemade miso tends to be high in salt, so use it in recipes that just call for a little of it ♪ It's terrific as a dip for vegetables..
Lastly, miso is one of the most forgiving fermented foods, and at most you risk a little surface mold you can scrape off.
Since switching over to homemade miso, the amount I use has more than quadrupled.
Even economically it makes sense to make it at home.
If you're looking to make authentic Japanese miso soup, you will have to use dashi as the.
Make the miso soup fresh with the frozen dashi yield a better result.