

Easiest Way to Prepare Yummy My Family's Homemade Miso
Easiest Way to Prepare Yummy My Family's Homemade Miso Delicious, fresh and tasty.
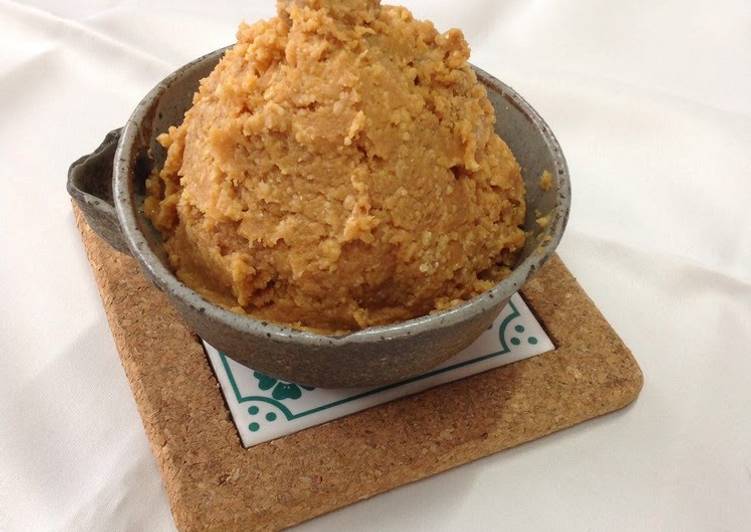
My Family's Homemade Miso. It's all about #thatbroth, and this one is created with intense aromatics, sumptuous roasted garlic and the bold, hearty flavour of red miso. Making your own homemade miso from scratch is fun and is not hard to make. It is totally worth the effort and time!
I used a non-stick frying pan.
When you eat them it will be very messy so remember this before.
I need to get started with this year's batch soon, too. 🙂 My family enjoys miso soup with homemade miso.
You can have My Family's Homemade Miso using 5 ingredients and 14 steps. Here is how you cook that.
Ingredients of My Family's Homemade Miso
-
You need 2 kg of Soy beans.
-
Prepare 2 kg of Rice malt (kome koji).
-
You need 900 grams of Salt.
-
Prepare 100 grams of Sprinkling salt.
-
You need 100 ml of Shochu (35 proof).
It's amazing to create such flavorful condiment with a few ingredients.
Thank you for your kind feedback! reply.
Lindsay wrote: Miso soup is as staple as white rice for the Japanese food.
In my family, we used to have miso soup almost every dinner.
My Family's Homemade Miso step by step
-
Mix the 900 g of salt and rice malt together well (with unsalted rice malt). Doing this inside a fermenting bag makes it easy with no mess..
-
Wash the soy beans well, place into a large pot, and let soak overnight in plenty of water..
-
When boiling, a lot of scum resembling heavy cream will be produced, so skim it off. Add water from time to time to keep the beans from burning..
-
Boil the soy beans until they absorb the water and expand. Boil for 1-2 hours depending on the firmness of the beans until you can smash them between your thumb and pinky finger..
-
Mash the boiled soy beans while they are hot. Its convenient if you have a mincer. Set aside about 500 ml of the boiled soy bean broth..
-
You can also mash them up with a potato masher or in a grinding bowl if you dont have a mincer..
-
Mix the minced soy beans and unsalted rice malt together. Adjust with the boiling broth until the texture resembles the firmness of your ear lobes..
-
Make large rice-ball sized balls, making sure to press out the air by packing them tightly..
-
Place the fermenting bag into a tightly lidded container, and add shochu as you see fit to sterilize the container. Set aside any remaining shochu..
-
Hurl the large rice-ball sized balls of the packed miso mixture into the bucket order to release the trapped air..
-
Press down firmly and evenly to thoroughly remove any remaining air pockets..
-
Sprinkle the surface with salt to prevent mold..
-
Dip a sheet of plastic wrap in the leftover shochu, and place it over the miso mixture to keep it sterile..
-
Tie the bag if the mouth shut and seal the lid of the container, and store for over half a year in a cool, dark place to let it ferment..
Some people like to have miso soup for breakfast, too.
All you need to make miso soup is miso paste, dashi (fish broth), and ingredients such as tofu, wakame seaweed, or any veggies you like. (Potatoes, onions, daikon radish.
It was a great chance to learn together about something we all like.
And this year we made it by ourselves at home.
Making miso paste is not difficult.