

Easiest Way to Make Appetizing Homemade Miso Made In a Plastic Storage Container (Salty Version)
Easiest Way to Make Appetizing Homemade Miso Made In a Plastic Storage Container (Salty Version) Delicious, fresh and tasty.
Homemade Miso Made In a Plastic Storage Container (Salty Version). My simple step-by-step instructions on How to Make Miso will guide you through this process. Once it is made, you can use the amazing fermented paste for many delicious. Making your own homemade miso from scratch is fun and is not hard to make.
To safely make miso at home, be sure to use all of the salt called for.
After the salt, koji and starter are stirred in, it's time for…More salt!
Since it's a fermented product, miso keeps very well.
You can have Homemade Miso Made In a Plastic Storage Container (Salty Version) using 3 ingredients and 11 steps. Here is how you achieve that.
Ingredients of Homemade Miso Made In a Plastic Storage Container (Salty Version)
-
Prepare 840 grams of Dried soybeans.
-
It’s 480 grams of Dried rice koji.
-
It’s 500 grams of Salt (or shima maasu, Okinawan salt).
Store it tightly sealed in the original container in the refrigerator and it will keep for a year or longer.
Use a glass container or resealable plastic bag.
A glass container works great if you plan to use the misodoko for a long time.
It is easy to put in or take out the ingredients and to transfer the misodoko out of the container if you need to cook off the moisture (see next).
Homemade Miso Made In a Plastic Storage Container (Salty Version) step by step
-
Soak the soybeans in water overnight. Drain off the water the next day, and cook in fresh water slowly for about 4 to 5 hours. Skim off the scum that comes out of them carefully..
-
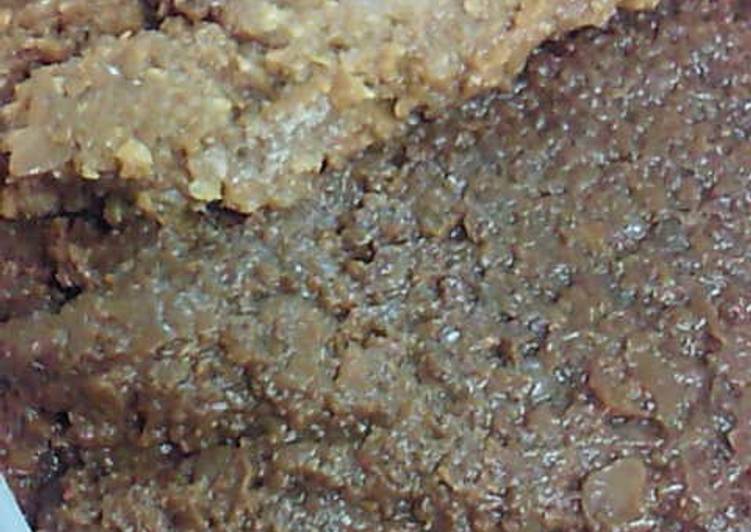
When the soybeans are soft enough that you can crush one between the thumb and forefinger of your opposite hand (your left hand if youre right-handed, and vice versa), put them in a container that you have sterilized with ethanol and mash them..
-
Reserve about 2 handfuls of the salt. Mix the remaining and salt and the rice koji together. (This mixture is called koji cut with salt.).
-
Mix the soybeans and the salt-koji together well. Add the cooking liquid from the soy beans until the mixture has a soft doughy texture, about the same as your earlobe feels..
-
Form the mixture from Step 4 into balls about the size of baseballs..
-
Spray a plastic storage container with ethanol, and sprinkle the bottom with 1/2 of the salt that was reserved in Step 3. Press the balls from Step 5 tightly into the container, leaving no gaps..
-
Cover the top with the remaining salt and spray lightly with ethanol. Cover with a piece of plastic wrap, spray with more ethanol and put on another layer of plastic wrap..
-
Wipe off any soy beans that are stuck to the sides of the container, spray with more ethanol and put the lid on. Wrap in newspaper and leave in a cool dark place..
-
Open it up in about 5 months to check on it. Mix it up from the bottom with a clean paddle..
-
Spray lightly with ethanol and cover with 2 sheets of plastic wrap..
-
Its ready to eat after about a year..
Comes in a convenient storage container with lid; Cons: Too salty; Damaged packaging; Tough to translate packaging written in Japanese; Hikari organic miso paste is a creamy white paste that comes in a neat plastic container with a lid.
It can be stored inside the refrigerator as you would store a tub of butter.
Salt the bottom of your container.
Lay down a layer of cabbage.
Salt the top as if for seasoning any food you want salty enough to season, but not so salty as to be inedible.